Introduction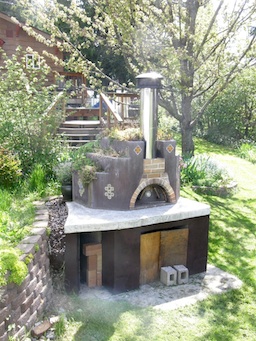
I love pizza. No, wait, let me repeat that: I...love...pizza. So much so that I sacrificed several months of my life — as well as a good portion of my sanity — to designing and building a wood-fired brick oven in my backyard. Much to my surprise and relief, I discovered a large and relatively organized online community of people who build wood-fired brick ovens, trade techniques, and offer tons of help to newcomers. The primary source of information and community assistance which I relied upon is Forno Bravo, a website the impetus for which was to specifically design an easy-to-build oven and then give the directions away for free (called the Pompeii oven design) and provide an interactive forum for trading experiences and techniques. I think the guy who runs it might like pizza more than I. If you have even the slightest inclination to build your own brick oven, download Forno Bravo's free Pompeii brick oven plans, join the forum that is organized through Forno Bravo's website, and start asking questions, lots and lots of questions.
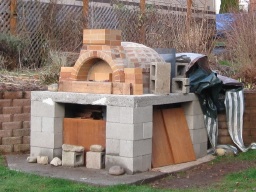
NOTE: As of June 2010, this project is classified as "mostly done". There remains long term aesthetic work, but the oven is fully operational and starting approximately summer 2010 I I took a break. The first photo shows the oven after I finished the brick dome. The second photo shows the oven as of May 2010 with the stucco enclosure completed and the planters freshly planted. Be sure to check out the extensive photo diary on the construction description webpage. I started construction in September 2009, cooked the inaugural pizzas in February 2010, and completed the surrounding enclosure in May 2010. Work that remains to be done includes:
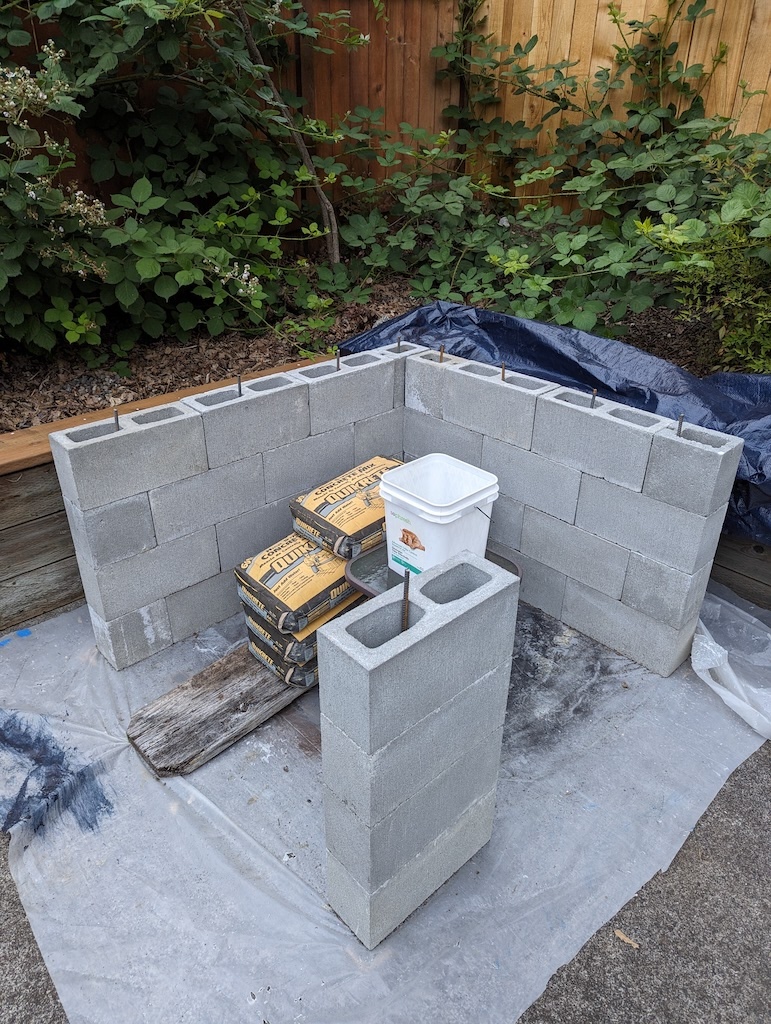
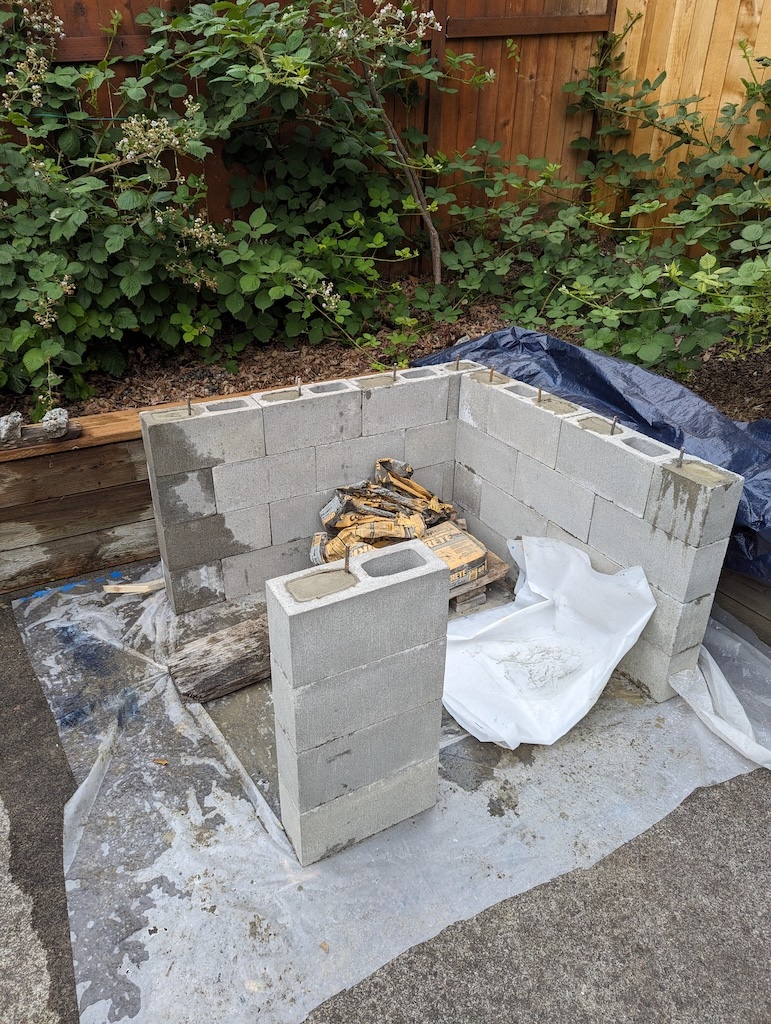
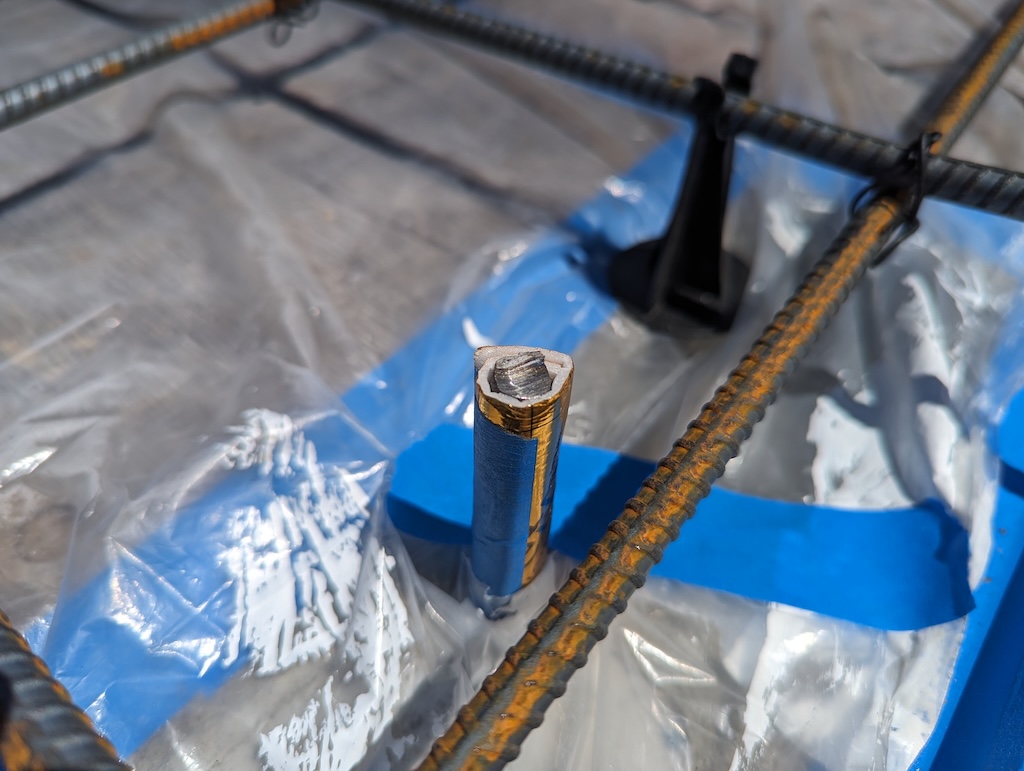
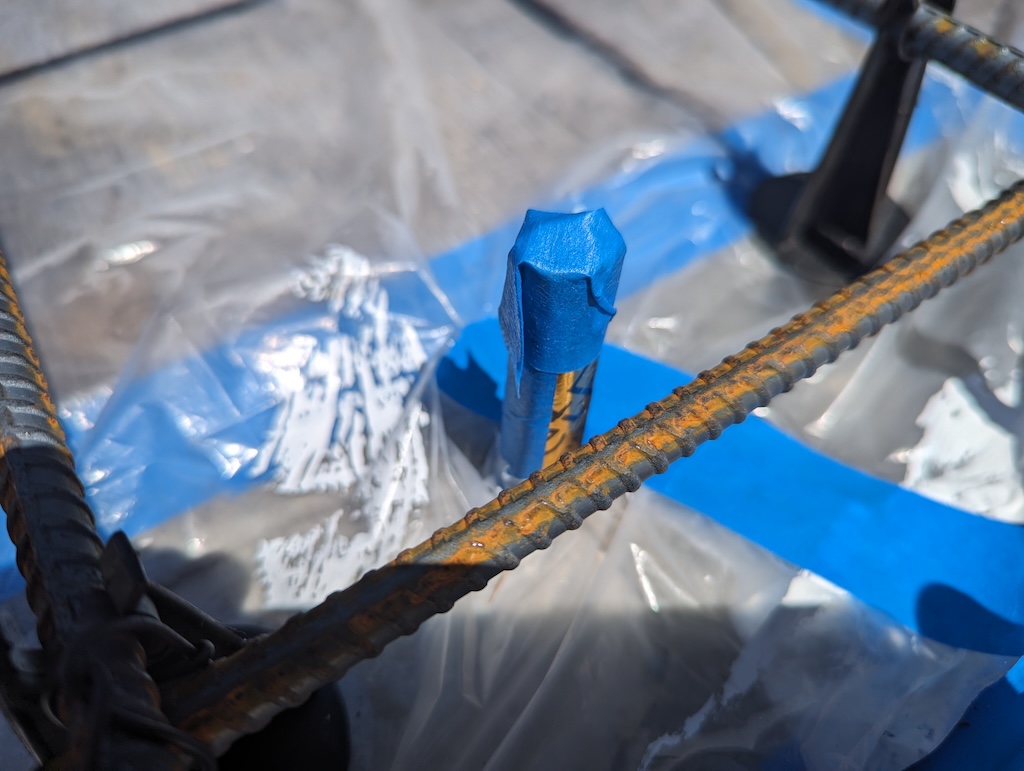
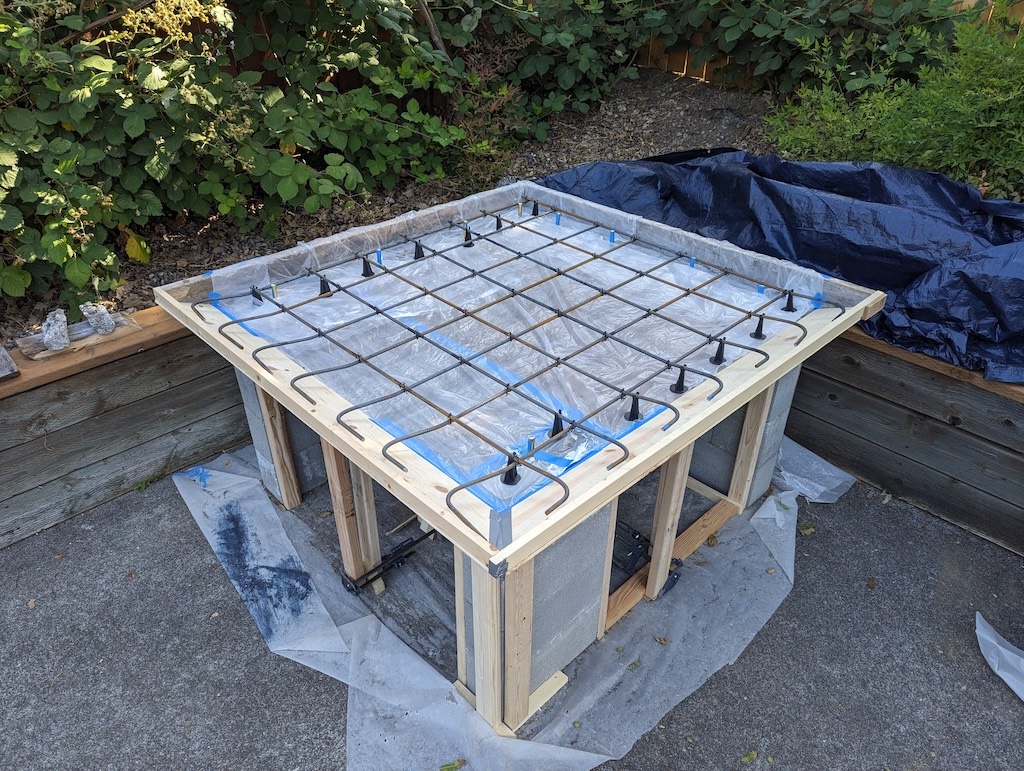
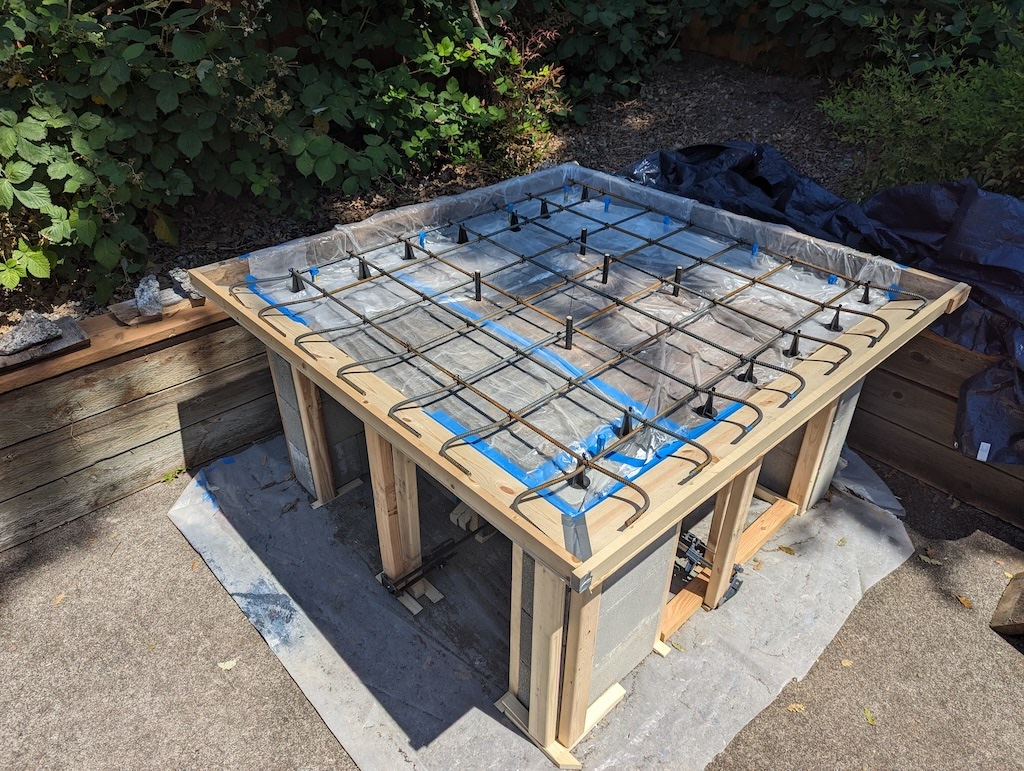
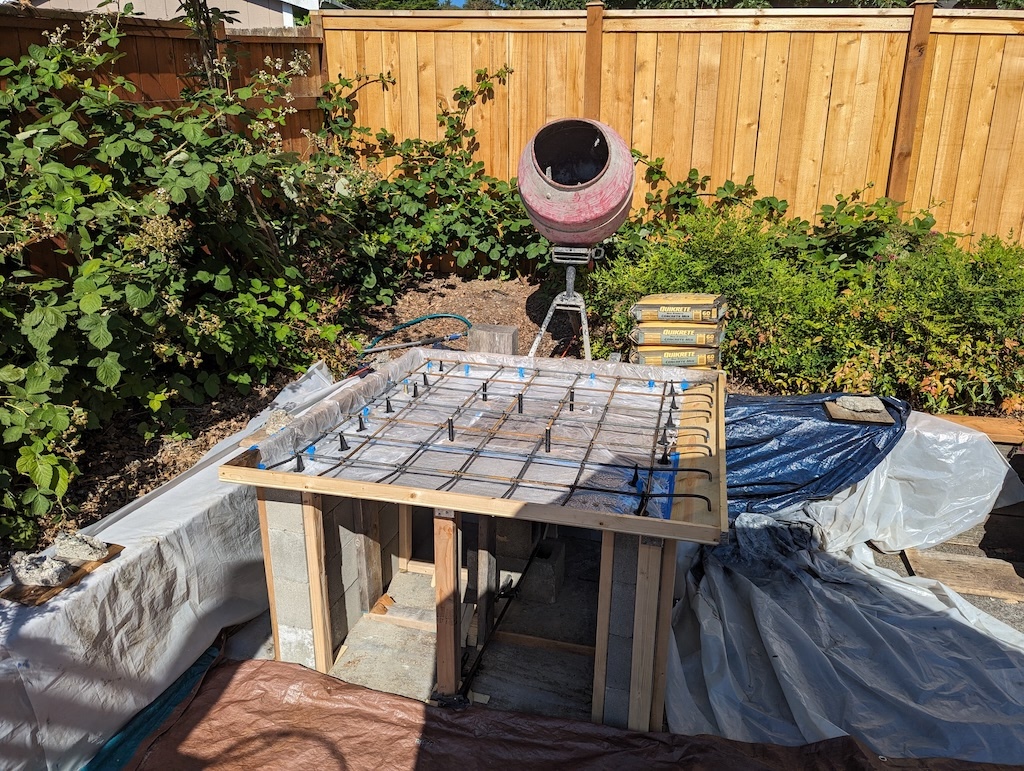
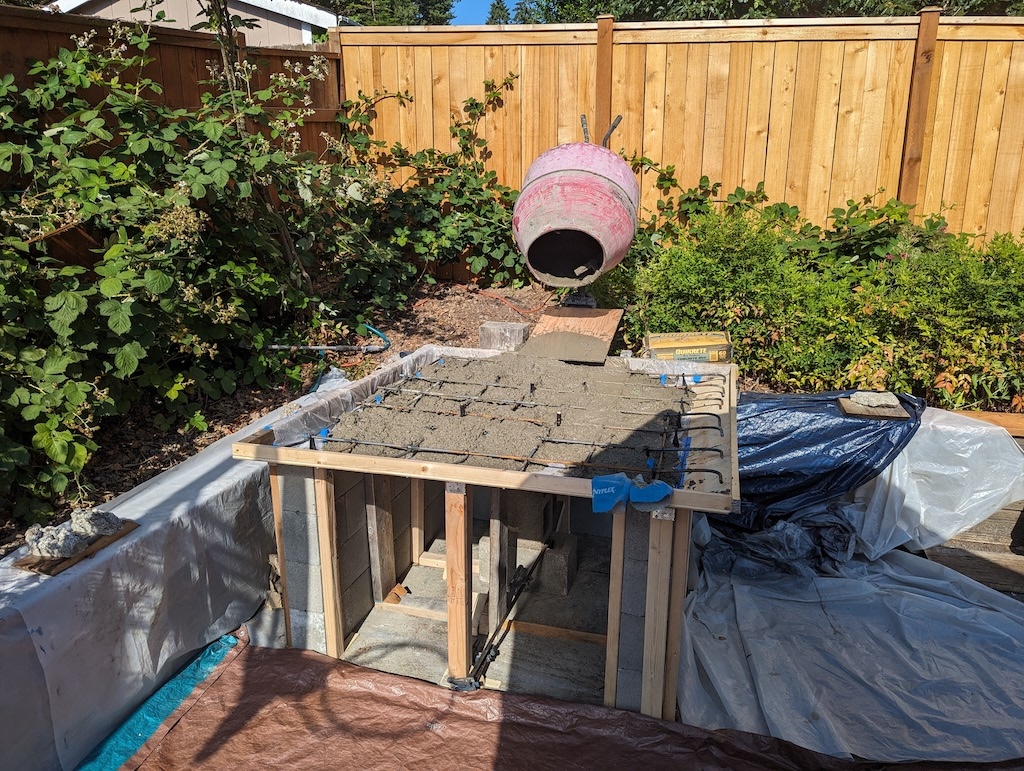
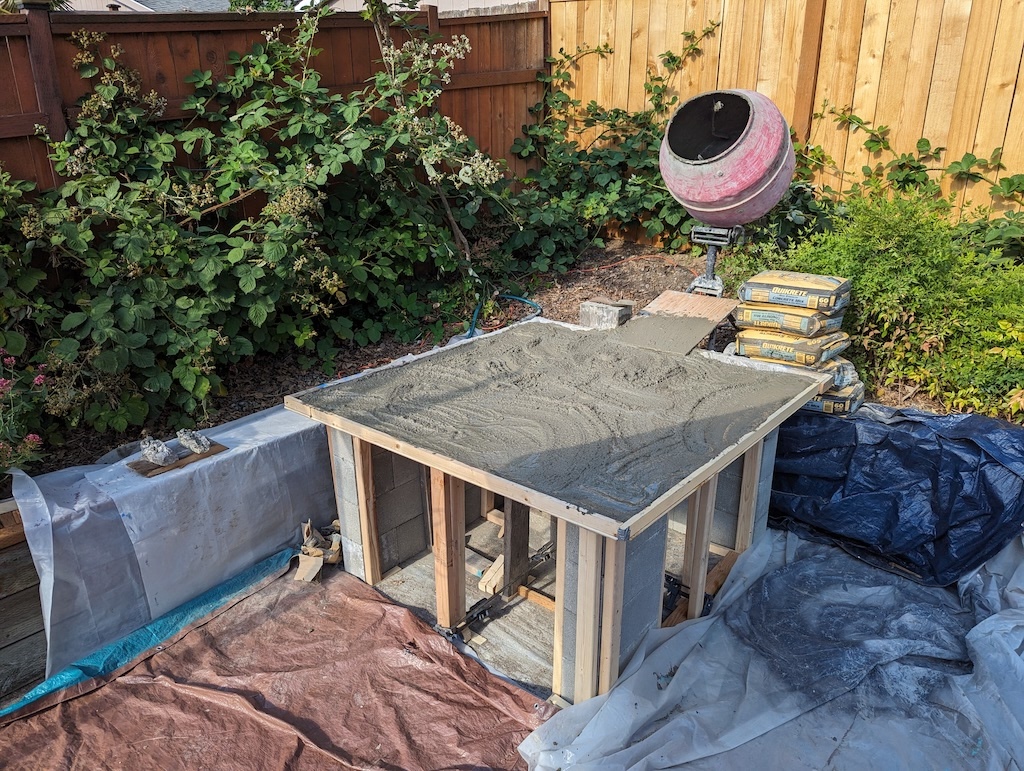
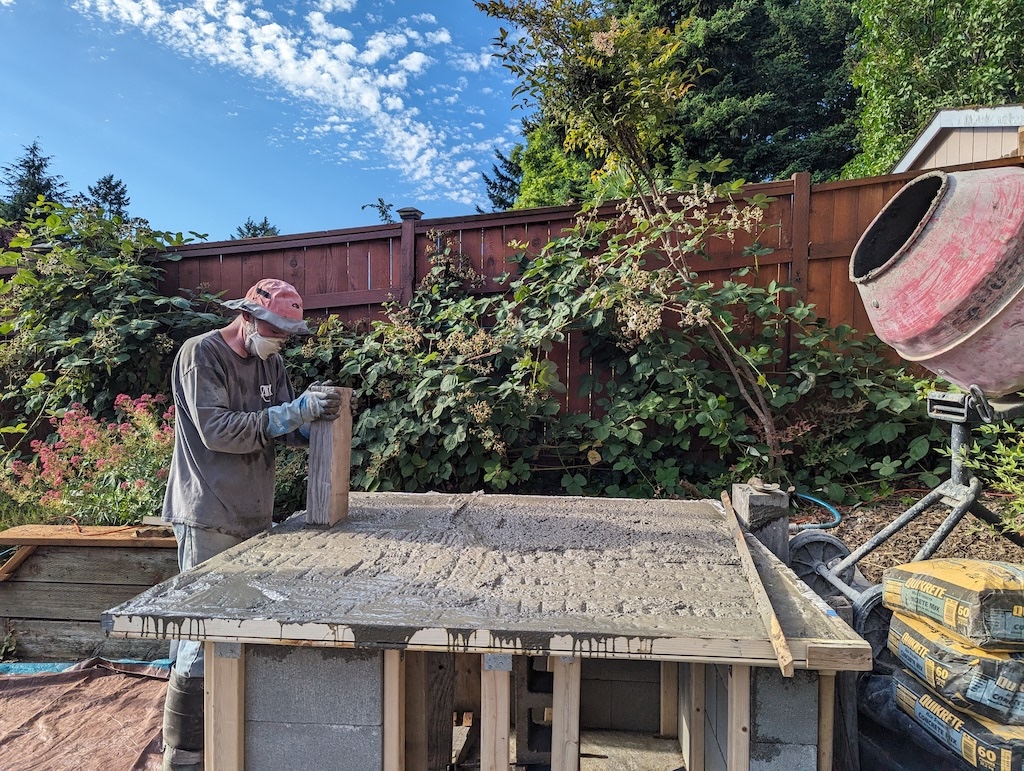
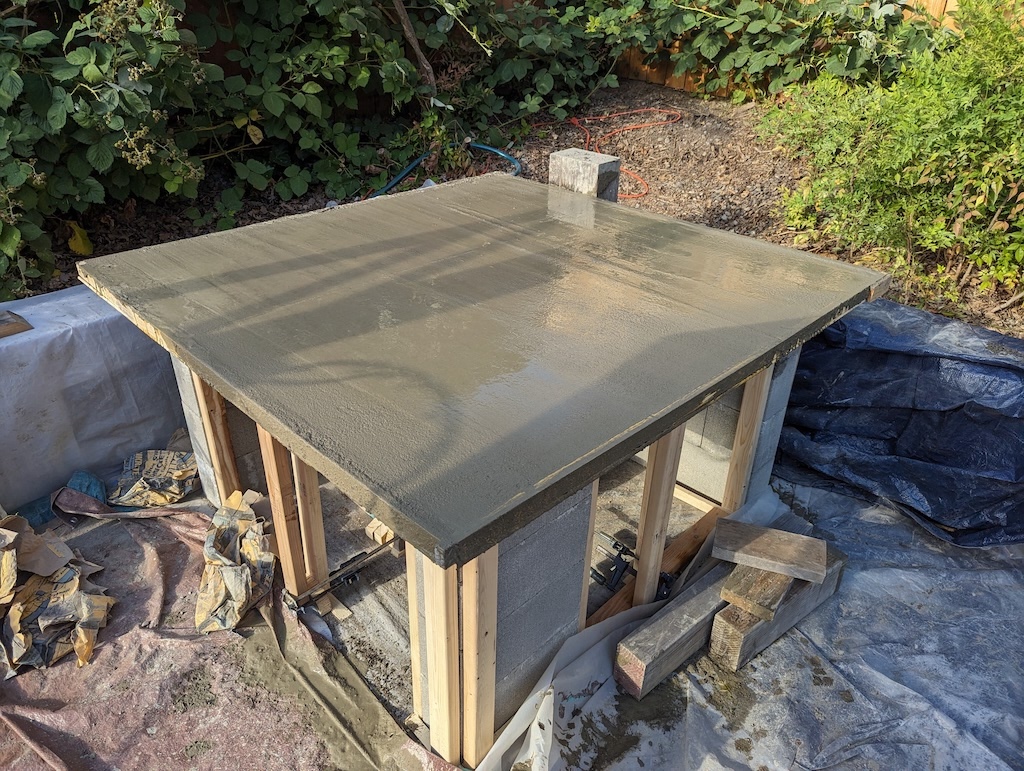
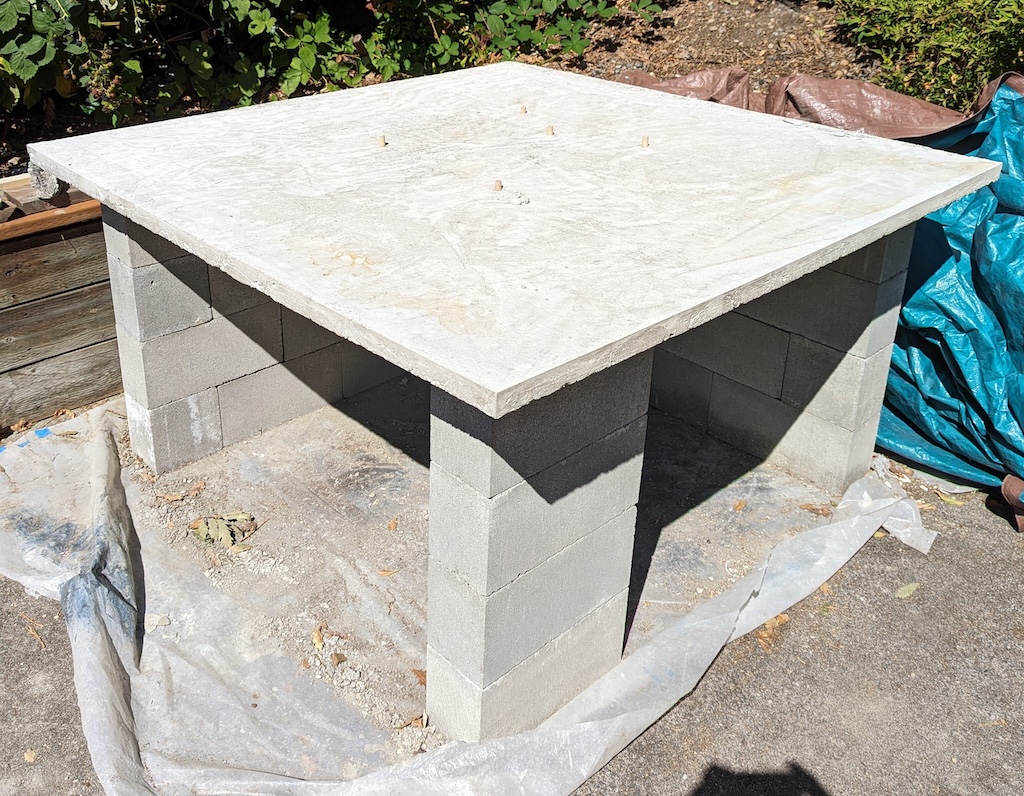
Second Pizza OvenSadly, after all the work I put into building the pizza oven shown above, I lost it when we sold the house a few years later. Upon buying my next house, I wondered about the possibility of building another oven, and in 2023 I got serious about the idea, designed a new oven, and started a new build. The new design isn't brick. It will (or would, if I ever build it) be made from cast refractory concrete, a single solid dome of high-temperature concrete. Other than that difference, it will (or would) still be wood-fired, although I have serious notions of configuring it for gas pre-heating, only shifting over to a wood fire after the oven is hot and ready for cooking. One problem I found with the first oven was that feeding a fire for one to two hours to heat it up to pizza temperatures was laborious and time-consuming. I came to the conclusion that it would be preferable to heat the oven up in an easier fashion, say with gas, and merely build a wood fire right before cooking time. Initial progress on the second oven went well. As you can see below, with the help of a friend, I got the concrete stand built pretty easily. I then put the project indefinitely on hold, relying on a propane pizza oven (the Gozny Roccbox) instead of building a permanent oven (technically, the Roccbox can burn wood, but it's a nuisance to switch between gas and wood so I haven't even purchased the wood-burning unit yet). In 2025, two years after building the stand shown below, I added doors to the storage area so I can stash the Roccbox and the propane tank underneath the stand with reduced weather exposure, but I still haven't picked up the project of building a second oven on the stand. I have a shed full of materials and tools that I obtained in 2023 when I started. All those materials are just sitting there at the moment, waiting for me to make a final decision one way or the other. The second pizza oven stand was designed to be somewhat modular and relatively easy to decommission in the future. Toward that goal, it was designed with the following features:
Admittedly, the features described above represent a structurally weaker design, most notably the lack of interleaving between the two long walls at the rear corner. However, I think it should still be sufficiently strong under normal circumstances. If you open the photo series below, explanatory captions are provided.
|